Saturday, August 31, 2019

Floral Essence Thinking of You


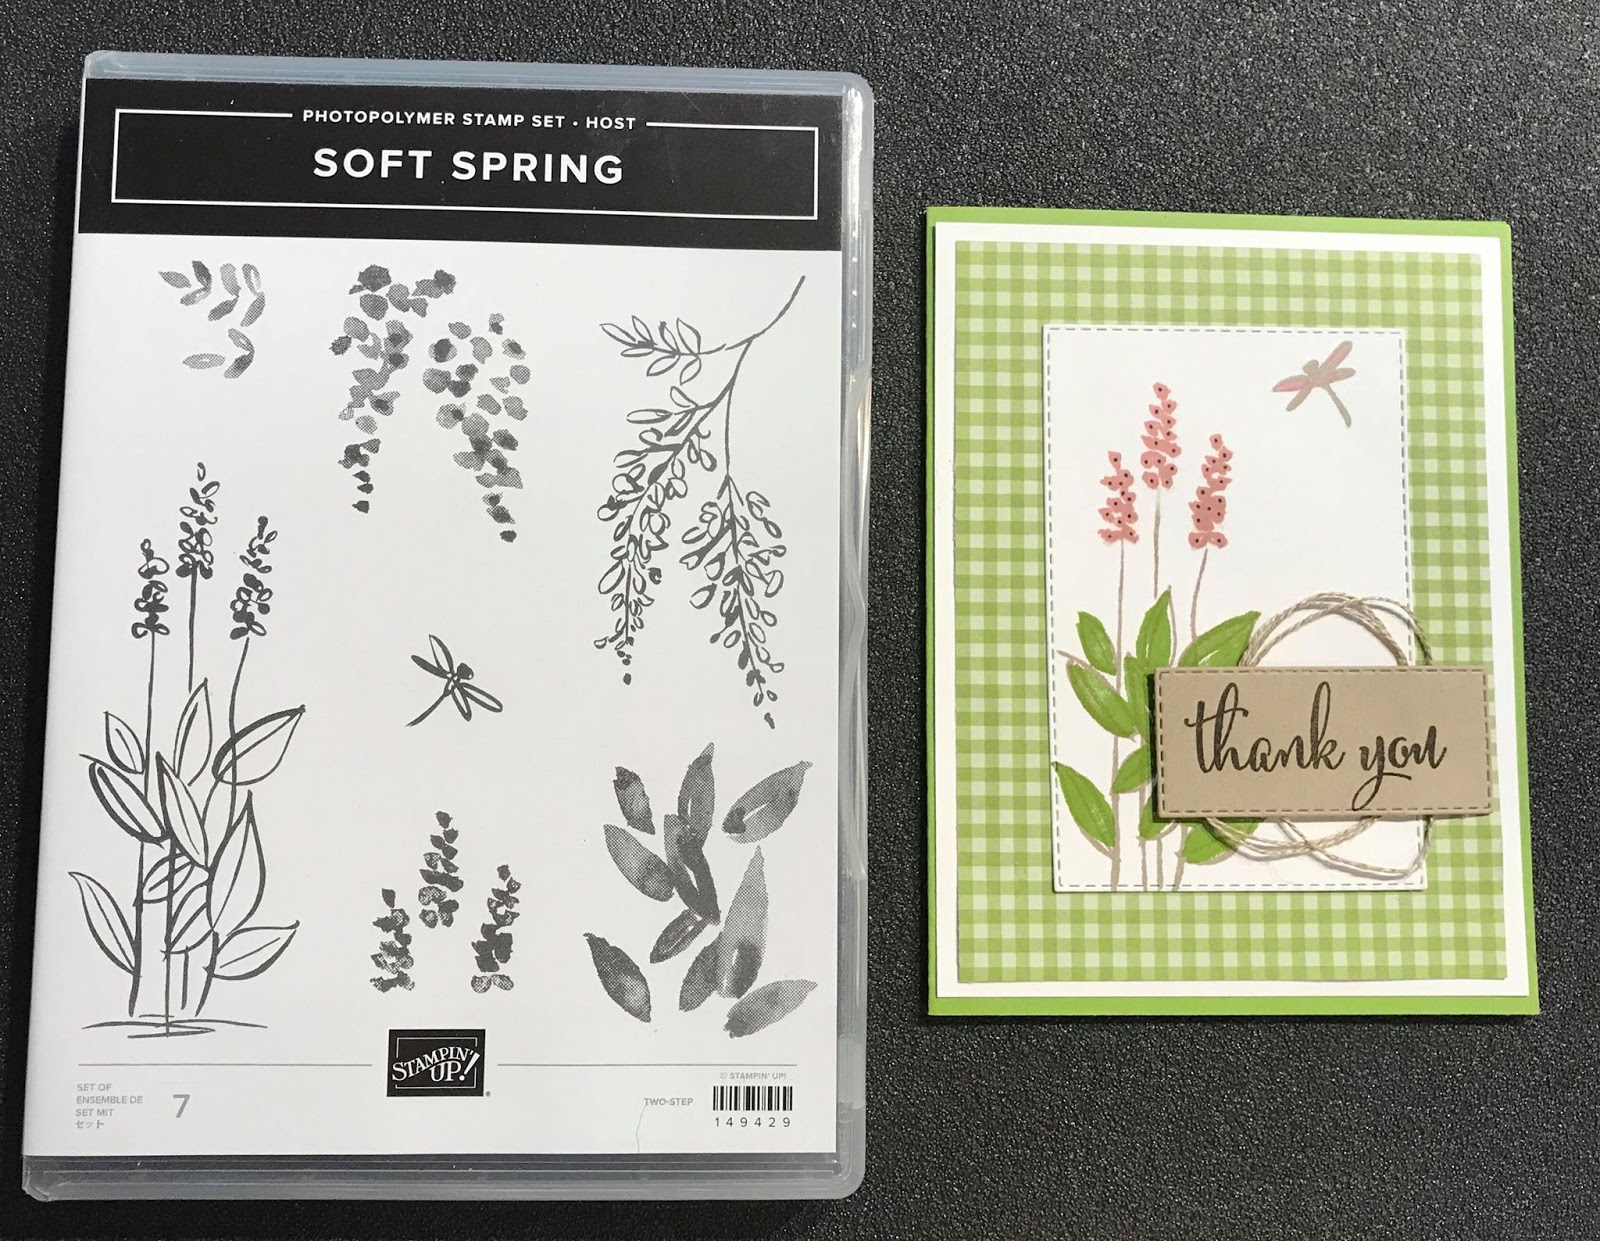
Floral Essence Stampin’ Up stamp set and matching punch (Perennial Floral punch) were used to create this card. The base of the card is 5 1/2 by 4 1/4 in Gorgeous Grape cardstock. For this card I cut Whisper White and vellum at 5 inches by 3 3/4 inches. I used the floral stamp to stamp Gorgeous Grape flowers all over the Whisper White cardstock creating a background. I added vellum directly over the top of the Whisper White cardstock for a nice subtle effect. I stamped two flowers in gorgeous grape on a scrap piece of Whisper White and punched it out. I then used Stampin’ blends to add color to the flower. The leaves are stamped in Granny Apple Green and fussy cut out. I stamped the sentiment on a piece of Granny Apple Cardstock cut at 1 inch by 3 3/4 inches.

If you enjoyed this card follow my blog for more inspiration. If you have any questions feel free to contact me. If you have questions about being a team member feel free to reach out to me. As always happy crafting

Friday, August 30, 2019

Beautiful Friendship Fall Birthday


I love the simplicity of this Beautiful Friendship fall birthday card. Here are the dimensions I used along with a list of items used to create this card. I used the Beautiful Friendship stamp set to stamp the flowers in the background and the sentiment. The flowers are stamped in Mint Macaron while the sentiment is stamped in Pretty Peacock. I stamped the leaves in Granny Apple Green.I used Pretty Peacock for the base card (5 1/2 x 4 1/4 inches) . I then used Crumb Cake cut at 5 1/4 x 4 inches for the next layer. The Designer Series Paper I used for both layers is from Come to Gather (releases 9/4). I then added The Faceted Dots in Pretty Peacock.

If you enjoyed this card click the follow me button so you will be notified when I add additional cards, tips, and tricks. If you have any questions feel free to contact me. As always Happy Crafting. 

Thursday, August 29, 2019


Polished Stone  click here to watch the tutorial on how to make the background.


Glossy cardstock is 5 1/4 x 4 inches
Crushed Curry is cut at 5 1/4 x 2 1/4 inches

Mossy Meadow 5 1/4 x 2 inches. 

The reinkers that I used are Cajun Craze, Old Olive, Crushed Curry, and Pumpkin Pie. 

If you have any further questions feel free to contact me. As always Happy Crafting. ❤️

Tuesday, August 27, 2019

September Monthly Stamp Club

This class is perfect for those who don't live in my area or have a conflict with scheduling. This is not a club and there is no monthly commitment!  You will receive the Free as a Bird cling stamp set, ink pad or pads, aqua painter and pre-cut supplies to create 6 cards; 2 of each design. I will also include envelopes, pre-punched pieces and accessories for you to use to complete the cards. I will include complete instructions to your email address in PDF format. You will need to provide your adhesive and clear blocks to mount your stamps on. The price of the kit includes shipping and will only be sent within the United States. Payment for the Monthly Stamp Club can be made by sending me an email indicating you would like to purchase the Monthly Stamp Club.The price for this months kit is $75 which is $60. in Stampin' Up product.  I will then send you an invoice. Items will NOT be ordered until payment is received. You can expect to receive your items approximately 14 days after your order. If you already have an item featured in this months kit ex; the ink pad, contact me and I will let you know what the dollar amount is to substitute it with another product of your choice. If you fail to contact me with your replacement products you will automatically be shipped the original kit. If you have any questions feel free to contact me. As always Happy Crafting!


These are the products you will receive in the September Monthly Stamp Club. I will include everything else you need to complete the 3 cards above excluding adhesive and clear stamping blocks.


Monday, August 26, 2019

Stampin' Trimmer Blades


The Final Batch of Trimmer Blades will be available Tuesday, August 27th, at 10am MT, Item #126995.
A couple things to keep in mind:
• They are first come, first serve and will sell out quickly. If you are going wait and place your order on August 27th be sure to have it ready. Last shipment sold out in less than 11 minutes.
• You can NOT add the blades to your cart until exactly August 27th at 10am MT.
• Limit 3 packs of blades per order.
• This is the LAST and FINAL shipment of blades for the retired trimmer.
• Stampin' Up! is working on a New Trimmer and will have more information soon.
• The current trimmer blades will not work in the new trimmer.

Rooted in Nature


Rooted in Nature thinking of you card is the perfect way to let your friends know that you are thinking of them. It's a very simple card to make.

Directions:
1. Cut Crumb Cake cardstock to 5 ½ x 8 ½ and fold in half to form card base. Stamp
leaf image from Rooted in Nature randomly on front of card base using Crumb
Cake ink.
2. Cut Mint Macaron cardstock to 3 x 4 and stamp tree image three times across
panel using Mint Macaron ink. Adhere to 3 ¼ x 4 ¼ inch piece of whisper white
cardstock and wrap with Whisper White baker’s twine and tie in bow. Attach to
front of card.
3. Stamp tree ring image on Whisper White cardstock using Crumb Cake ink. Stamp
“Thinking of You” on stamped tree ring image using Early Espresso ink. Fussy cut
tree ring using Paper Snips. Attach to front of card using Stampin’ Dimensionals.
4. Scatter pearl embellishments across card front.

Project Supplies
• Stamp set: Rooted in Nature Stamp Set
• Paper: Crumb Cake, Whisper White, Mint Macaron
• Ink: Crumb Cake, Mint Macaron, Early Espresso
• Embellishments: Stampin’ Dimensionals, Pearl Basic Jewels, Whisper White Baker’s Twine

Thank you for following my blog. Click the join my email list to receive instructions on how to make other cards that will be exclusive to email members only. Happy Crafting.

Saturday, August 24, 2019

Still Scenes Snow Globe


With the new Holiday Catalog from Stampin' Up I am getting a jump start on my Christmas Cards. Do you send a lot of cards each year? I need to make approximately 95 cards this year. It doesn't hurt to start early does it? 😉 I am excited to share with you all of the AMAZING items Stampin' Up has released for this holiday season. These items will be available to customers September 4th, 2019.

For this card I used Real Red Cardstock for the base. The base measures 5 1/2 by 4 1/4. I used Snow Globe Scenes dies to cut the snow globe shape out. I stamped the snow flakes on the bottom 1/3 of the real red card base. I stamped the globe on a piece of Whisper White cardstock in Basic Gray ink. I used the deer from the Glove Scenes die set to cut out the deer in Gold foil.. I placed the Whisper White cardstock with the deer glued to it under the globe shaker. I inserted the Snow Globe shaker die in the cut out on the card base. I then added Snowflake sequins and silver glitter to the globe. I cut the base of the snow globe out in Silver Foil and attached it to the bottom of the globe. I cut a half inch piece of Feels Like Frost Designer Series Paper and added it to the side of the card. The sentiment was stamped in Basic Gray ink and cut out with the Classic Label punch.

Thank you for looking at my blog. As always Happy Crafting.

Friday, August 23, 2019

Stampin'_Up Holiday_Designer_ Series_ Paper share 2019-2020

Have you seen the Designer Series paper in the new Holiday Catalog? Oh my gosh, it is all beautiful!! Would you like to buy it all but don't want to break the bank? Join me for a paper share. You will receive 96 pieces of paper. What a great opportunity to get your hands on all of the beautiful designs! The cost for each person is $35. this includes shipping.
* Please email me before August 31st at rlhenkins@gmail.com and let me know how many packets you would like to purchase.
*September 1st I will send you an invoice for your order.
*September 3rd all payments must be received. I will not place your order without payment.
* September 4th order will placed.
*September 11th -19th packets will be prepped
*September 20th orders will be shipped (if not sooner).

Gather Together


It's hard to believe that fall is right around the corner. The Gather Together Suite has the perfect elements for fall. The release date for non demonstrators is September 4th. Sign up now to order your Suite today.


For this card I used Cajun Craze cardstock for the base. The base measures 5 1/2 by 4 1/4 inches.  For the next layer I used Come to Gather Designer Series paper cut at 5 1/4 by 4 inches. I added a piece of  Old Olive / Pretty Peacock Reversible Ribbon cut at 4 1/2 inches and wrapped it around my Designer Series paper in the middle. I stamped my leaf  using the Pretty Peacock ink pad on Mint Macaron cardstock. I stamped the pumpkins using Cajun Craze ink on Whisper White cardstock. To color the pumpkins I used the Stampin' Blends in Pumpkin Pie. I used both the dark and light colors. . The leaf and pumpkins are cut out using the Gathered Leaves Dies. For the sentiment I stamped Season of Thanks in Pretty Peacock ink  onto a piece of Mint Macaron cardstock. I used the layering oval dies to cut out the sentiment and the background paper which is Pretty Peacock cardstock
I hope you enjoyed this card. It is very easy to put together and makes a beautiful fall card. Thank you for following my blog. Happy Crafting. 


Wednesday, August 21, 2019

How to make layers for your cards

In my last blog we talked about how to create a basic A2 card. This blog shows you how to cut different size layers for your card. You will begin with a 5 1/2 by 4 1/4 inch card base and cut your layers as follows

This is how the layers look on a card that is 5 1/2 by 4 1/4 inches using the chart above.


Thank you for following my blog and as always Happy Crafting. 

Tuesday, August 20, 2019

Hostess only Stamp Sets

              Host a Stampin' Up party online or in home and receive rewards based on the amount of sales you receive from your party. The minimum amount needed to qualify for a party is $150 USD. You will receive 10% off any item or items you want. The more you sell the more the percentage goes up. You also qualify for Stampin' Up Hostess only stamp sets. Here I will show you two of the four stamps.
       
             The first stamp set is called Soft Spring. The base of the card is 5 1/2 x 4 1/4 inches in Granny Apple Green cardstock. The next layer is Whisper White cut at 5 3/16 x 4 1/16 inches. I used the Granny Apple Designer Series Paper from the Brights collection for the next layer. The measurements for this layer is 5 1/4 x 3 3/4 inches. I cut out the Whisper White cardstock in the middle using the Stitched Rectangle dies. I used the Stitched Rectangle dies for the thank you sentiment as well on Crumb Cake cardstock.


Soft Spring Hostess only stamp set.


The next stamp set that I am featuring is called New Wonders. I again used a 5 1/2 by 4 1/4 card base in Whisper White. I used Rococo Rose cardstock for the next layer cut at 5 1/4 by 4 inches. I centered a stitched nested Labels die in the middle of the Rococo Rose cardstock and cut it out with Big Shot. I stamped my sentiment in black on the cardstock base. I cut the girls out and colored them with the Stampin Blends


New Wonders Hostess only stamp set.


I hope you enjoyed these card samples. If you would like to learn more information feel free to contact me. To schedule you party click here. As always Happy Crafting.

Monday, August 19, 2019

Why join Stampin' Up now.

Take advantage of this AMAZING offer through August, 31st 2019!


The bonus at initial sign up allows demonstrators to pick $30 usd more than usual. You will pay $99 usd to sign up and choose $155 usd worth of Stampin’ Up! products in your Starter Kit. You can choose any items you want from the current catalog or the 2019 Holiday catalog. You can use the items to start your own business or to get a discount of the products you already use and love. 

Feels Like Frost Designer Series Paper

This is the most beautiful Designer Series Paper. You will find the Feels Like Frost DSP in the new Stampin' Up Holiday catalog. It is so beautiful that you really don't need to do anything to it but add a sentiment. What a great way to make tons of cards in no time at all! 


If you have any questions feel free to contact me. As always Happy Crafting! 

Friday, August 16, 2019

Yummy Christmas Holiday 2019

I love making Christmas cards! I would like to introduce you to Yummy Christmas.  This set is available to customers beginning September 4th. What a cute gingerbread house. Do you make Gingerbread houses in your home for the holiday season? Sign up to be a demonstrator to order yours today!


The base card is Real Red cardstock cut at 8 1/2 by 5 1/2. It is scored at 4 1/4 and folded into a 4 1/4 by 5 1/2 card. I used pool party cardstock for my next layer. I cut it with the  STITCHED RECTANGLE DIES. I used the rectangle measuring 4 1/2 long by 3 inches wide. I then used the gumdrops and peppermint from the stamp set to stamp all over the cardstock. The ink I used was also Pool Party.  I then used the Stampin' Blends to color the gingerbread house and trees. In the corner of the base I added three glue drops with glitter in it. For the sentiment I stamped it in Real Red ink and Call me clover ink


Thank you for looking at my blog. If you have any questions feel free to contact me. If you currently don't have a demonstrator and would like a holiday catalog send me an email with your name and address and I will send one out to you. As always happy crafting.

Thursday, August 15, 2019

Stampin' Up Holiday Catalog


Welcome to the 2019 Holiday Catalog. I am super excited about the items in this years catalog. Demonstrators can do a preorder now. Join now through August 31st for $99. and choose any products you want worth $155. Customers may begin to order from the new catalog on September 4th. If you are as anxious to get started as I am, sign up to be a demonstrator and get a discount on the items you already love. Click here to sign up.

A Sneak Peek of items in the new catalog.


Still Scenes Bundle


Snowman Season Bundle


Free Skate Bundle

Stay tuned for more projects ideas. If you currently don't have a demonstrator and would like a Holiday Catalog or Yearly Catalog feel free to email me with your name and address and I will send you one. As always Happy Crafting!

Basic Card Making how to make an A2 card


The base for an A2 card is 8 1/2 inches long and 5 1/2 inches wide. You can cut two card bases out of one 8 1/2 by 11 inch piece of  paper if you cut it in a landscape view.  Landscape view is when the paper is wider than it is tall. 


Once you have your card bases cut out you will need to fold it in half or score it. 


Line your card with the side that measures 8 1/2 inches on your scoreboard, if you have one. Use your bone folder and insert it in the grove that measures 4 1/4 inches. Pull your bone folder straight down. 


You will then fold the card in half and run your finger or bone folder down the crease to make the fold crisper and help the card lay flat. 


You now have an A2 card base to use for your card. Thank you for viewing my blog. I will be posting basic card making steps and techniques every week through December. As always happy crafting.

Tuesday, August 13, 2019

Free Skate Bundle


Sneak peek of the Free Skate Bundle. Another favorite of mine. ❤️ The Free Skate bundle will be available to customers to purchase on September 4th. 

For this card I used Pool Party cardstock for the base cut at 4 1/4 by 5 1/2. I used the snowflake stamp on the base in Stampin' Up Craft ink.  I then added some silver ink on the edges with a sponge dauber. 
I die cut the skates and used the paper piercing tool to poke holes for the laces. I used White Bakers Twine to make the laces for the skates. I used Stampin' Up blends in light Smoky Slate to shade in the heal of the skate and black to color the heel.  I used some Snowflake dies (not included in the bundle} to cut out snowflakes in Pool Party cardstock. I used the sponge dauber to add Craft ink and Silver ink to the snowflakes.The greenery was cut out of Old Olive and shaded a bit with Mossy Meadow Stampin Blends. I stamped the sentiment in Real Red ink and added gems to Holy. 

If you would love to get your hands on these items now you can sign up to be a demonstrator for $99 and receive $155 of merchandise of your choice until August 31st. If you don’t currently have a demonstrator and would like a Holiday catalog feel free to contact me. Happy crafting. http://www.stampinup.net/esuite/home/rhondascreations/

Monday, August 12, 2019

Woven Heirlooms Bundle


HEIRLOOM FRAMES DIES AND 3D EMBOSSING FOLDER FOR THE WIN! The base of the card is 5 1/2 by 4 1/4 in Pretty Peacock cardstock. The next layer I used is the Designer Series Paper 2019-2021 in color cut at 5 1/4 x 4.I used Pretty Peacock cardstock to cut out and emboss the oval frame. I added a little pop of the new Delicata Gold ink to the frame. I used the Floral Essence stamp set for the sentiment and flower. The sentiment is stamped in Pretty Peacock with the flower being stamped with Terracotta Tile. The middle of the flower is stamped with Daffodil Delight ink. I added the 2019-2021 in color Faceted Dots as well. Happy Crafting.
www.rhondascreations,stampinup.net

Tuesday, August 6, 2019

The Barn Door


The Barn Door and This Little Piggy 🐷 Stamp Sets. The card base is 11 1/4 x 4 1/4 in Early Espresso cardstock. I scored the cardstock at 2 3/4 and 8 1/4. The next layer is Whisper White cardstock cut at 5 1/4 x 4. I then used Lovely Lipstick cardstock cut at 5 x 3 3/4. I used Crumb cake Cardstock with Soft Suede ink for the doors. I used the Sliding Door Dies to cut out the door and accessories. I used the Stampin’ Blends to color the inside. Happy crafting.